Brushing your teeth reaches about 25% of your smile. There are areas in-between your teeth that a toothbrush will never touch. Flossing is one of the best ways to clean these areas, where plaque buildup and tooth decay are common.
Unfortunately, incorrect flossing techniques can increase your risk for gum injury, gum disease, cavities, and tooth loss1. Understanding how to floss will help keep your smile healthier for a lifetime.
How to Floss Properly: Flossing Steps for Your Teeth
There are correct—and incorrect—ways to floss your teeth. To ensure you know how to floss properly follow these important steps in our flossing guide:
Select the Appropriate Floss or Flossing Device
How to floss properly begins with selecting the appropriate type of floss. There are multiple types of floss such as waxed, unwaxed, tape and tufted. Additionally, there are ‘holders’ or ‘picks’ which can aid in flossing if you find string floss difficult to use. Ask your dentist or dental hygienist what is best for your mouth.
How to Floss with String Floss (Without a Device)
Know how much floss to use in a single sitting
For string dental floss, use at least 18 inches each time, approximately the length from your fingertips to your elbow, to clean around your teeth. Wrap one end around a finger on one hand and gradually unwrap it onto a finger on the opposite hand as you floss each area. Use a fresh area of the floss (about 1 inch) to place in between the teeth as you move from tooth to tooth throughout your mouth.
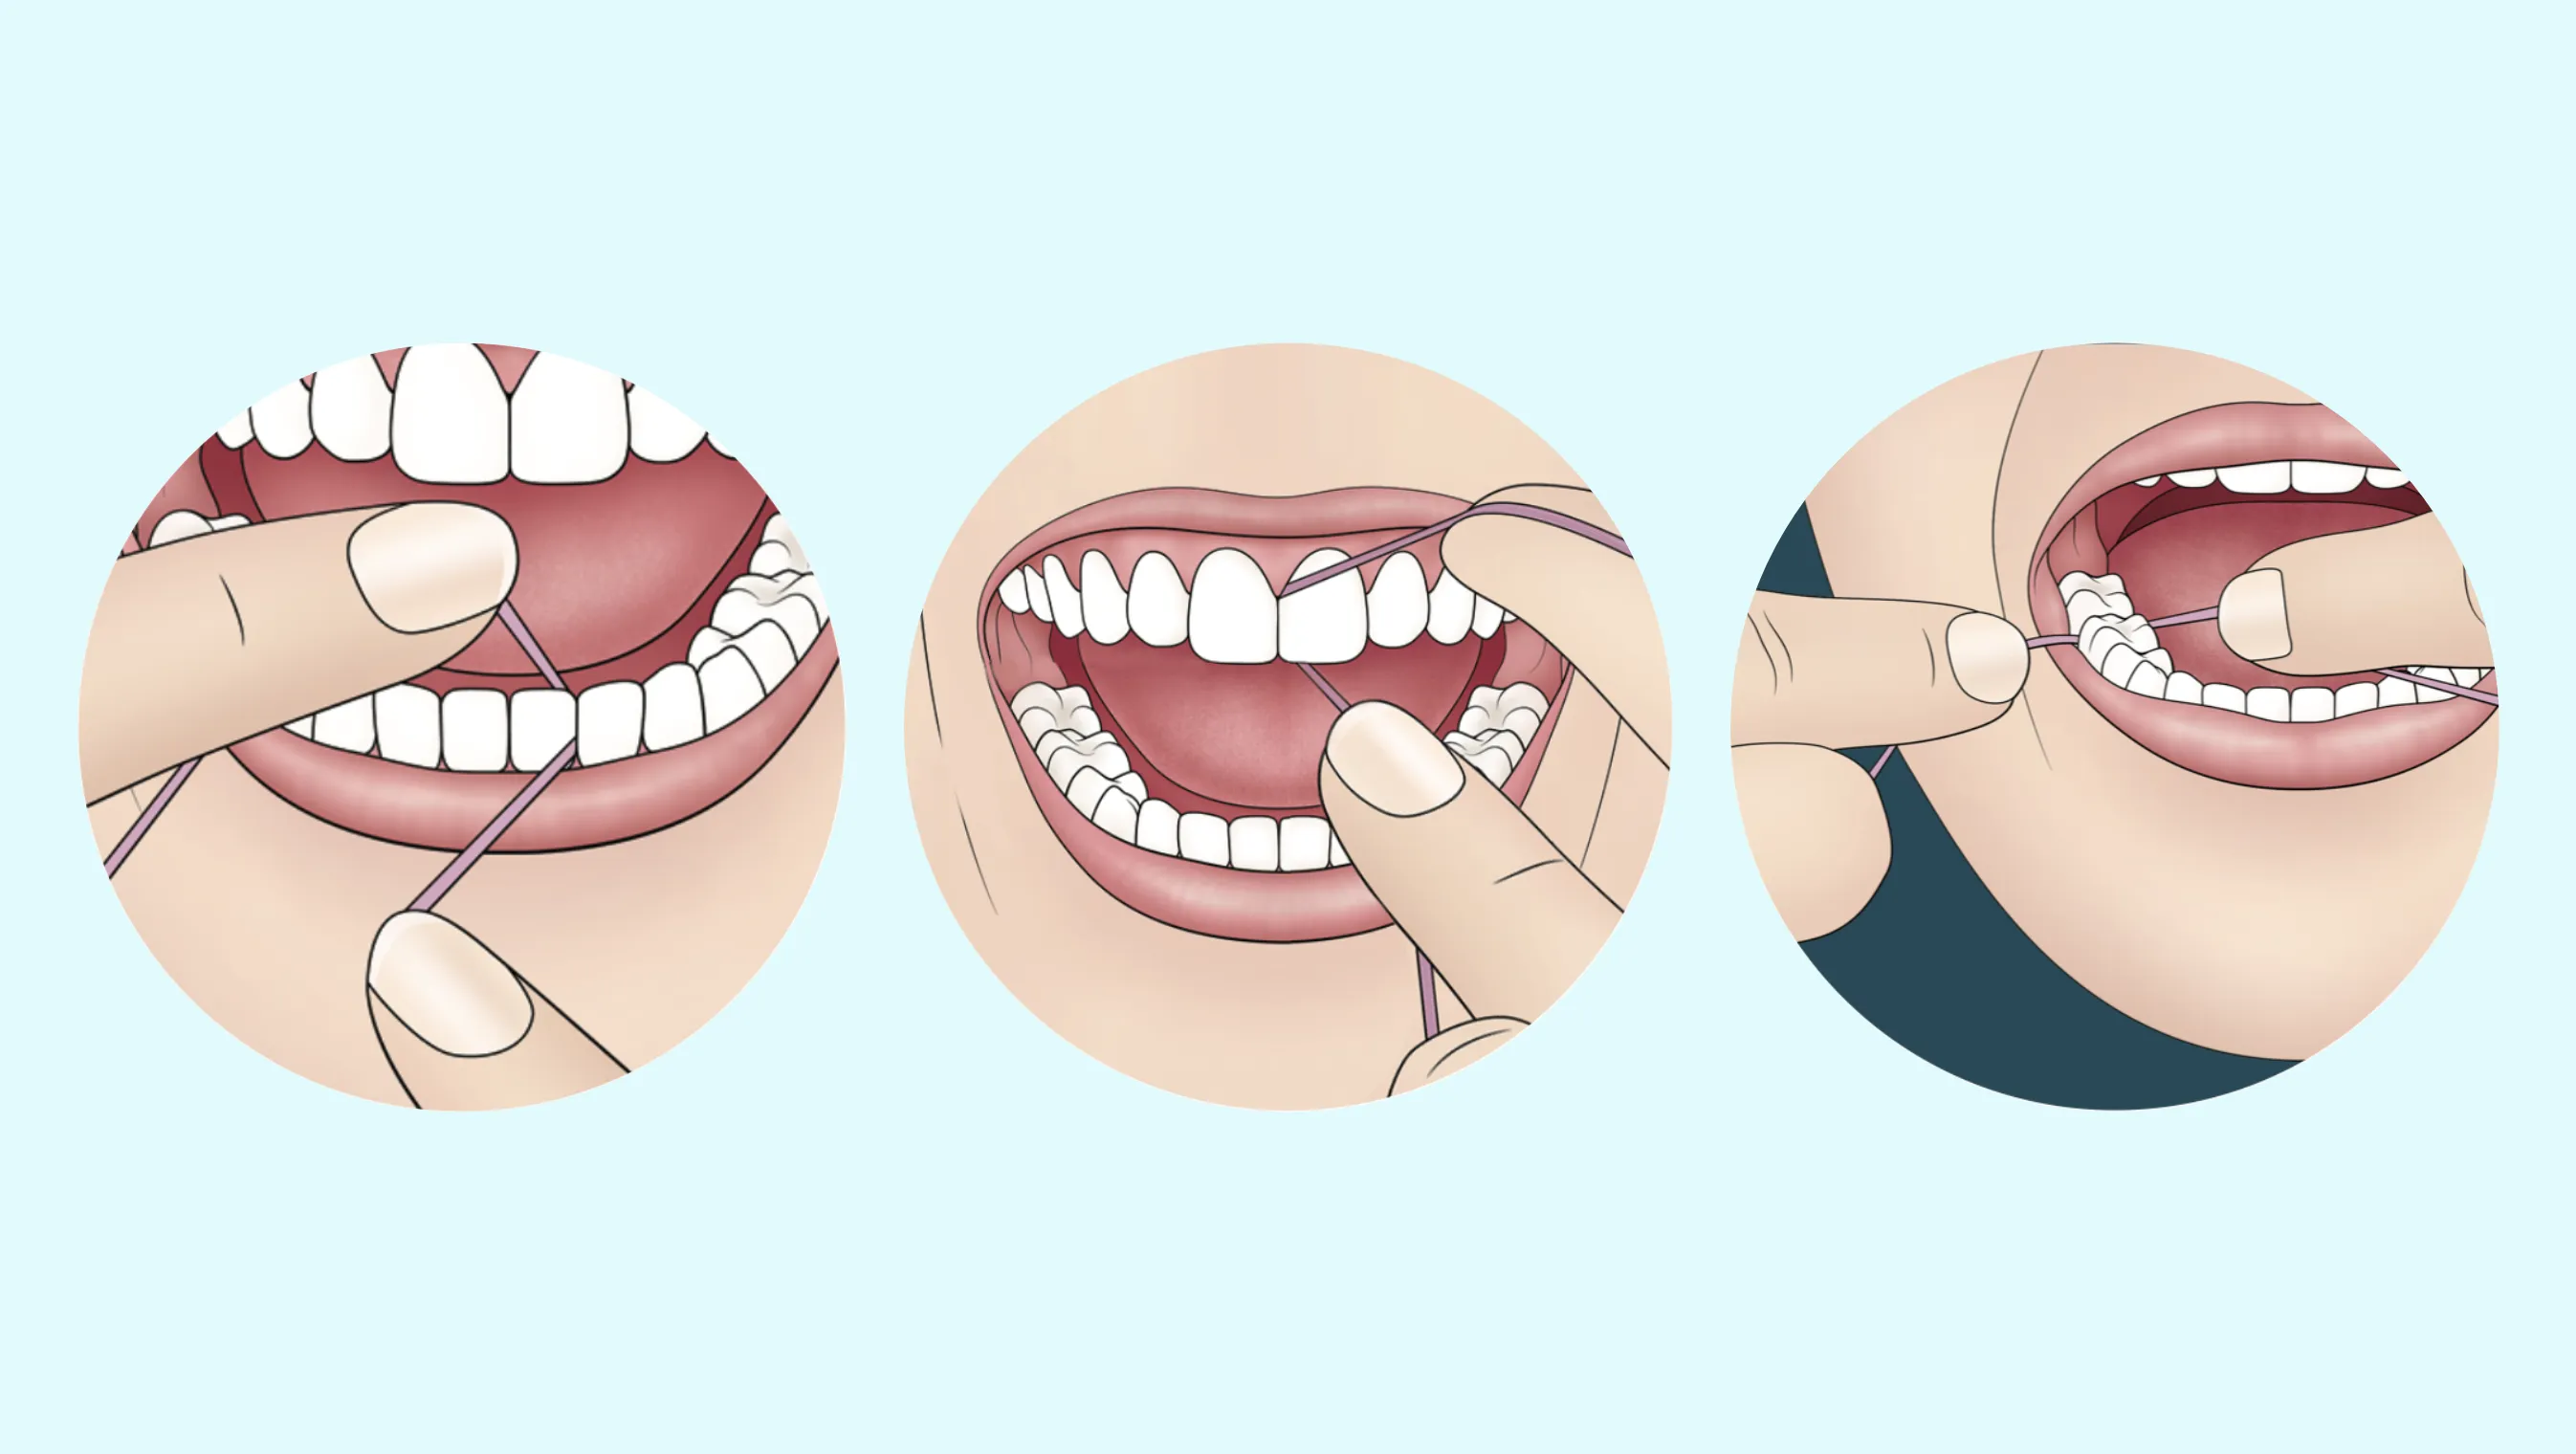
Wrap the floss tightly around each side of the tooth
Learning how to floss your teeth begins with how the floss is positioned on each tooth. Gently ease the floss between the two teeth, not ‘snapping’ it through where the two teeth contact. Wrapping the floss snuggly around the side of each tooth helps to prevent cutting the gum and aids in cleaning the tooth surface. Don’t forget to floss the surface last tooth in each arch. Keep in contact with the tooth and slide the floss up and down the side of the tooth, moving slightly below the gumline. One of the biggest mistakes people make when they are learning how to floss properly is not knowing how to floss in the area of the gum. The flossing string should hug the side of the tooth and slip just below the edges of the gum. Use care not to go too far under the gum to prevent injury.
Should You Floss Before or After Brushing?
As long as you’re flossing regularly at least once daily, that’s what’s most important. When it comes to which order you’re brushing and flossing, some studies suggest that flossing before brushing is best, as it lifts food debris and plaque from hard-to-reach areas, making them easier to brush or rinse away afterward.
How Often Should You Floss?
Experts recommend flossing at least once a day to disrupt plaque buildup. Flossing cleans areas that brushing doesn’t reach, so it’s important to floss each day to help prevent tooth decay and gum disease. Regardless of whether you floss morning or night, the importance is to do so daily. Unless plaque is removed on a regular basis, it can calcify into calculus (tartar) which can only be removed by a dental professional.
How to Floss with Braces and Bridges
Flossing if you have braces or bridges helps remove heavy plaque buildup under the bridge and around the supporting teeth of your bridge or in the case with braces, around your orthodontic wires and brackets and along the gumline.
How to Floss with Braces
Use waxed floss with a floss threader. It’s a plastic loop which holds the floss to “thread” around the orthodontic appliance. it is easier to use waxed floss around orthodontic appliances than it is unwaxed varieties. With a threader, loop the floss under the wire to clean between each tooth. Be sure to wrap the floss against the side of the tooth, then rub it up and down several times, extending slightly below the gums before moving to the next tooth. Pull the floss out, then repeat the process on the next two teeth. Orthodontic floss picks can also be used. Ask your orthodontist, hygienist, or dentist as to the best way to floss your teeth if you have braces.
How to Floss with a Bridge
If you have a fixed bridge, again use a floss threader. “Thread” the floss under your bridge and floss around each tooth of the bridge and gently pull the floss out once you’re finished. Ask your hygienist or dentist what the best way is to floss your teeth if you have a bridge.
Use a Water Flosser Instead of Traditional Floss
Knowing how to use a water flosser can be extremely helpful for people with fixed orthodontic appliances or bridges. Water flossers use a jet of water to flush away plaque. Again, ask your dentist or dental hygienist the best way to clean your teeth.
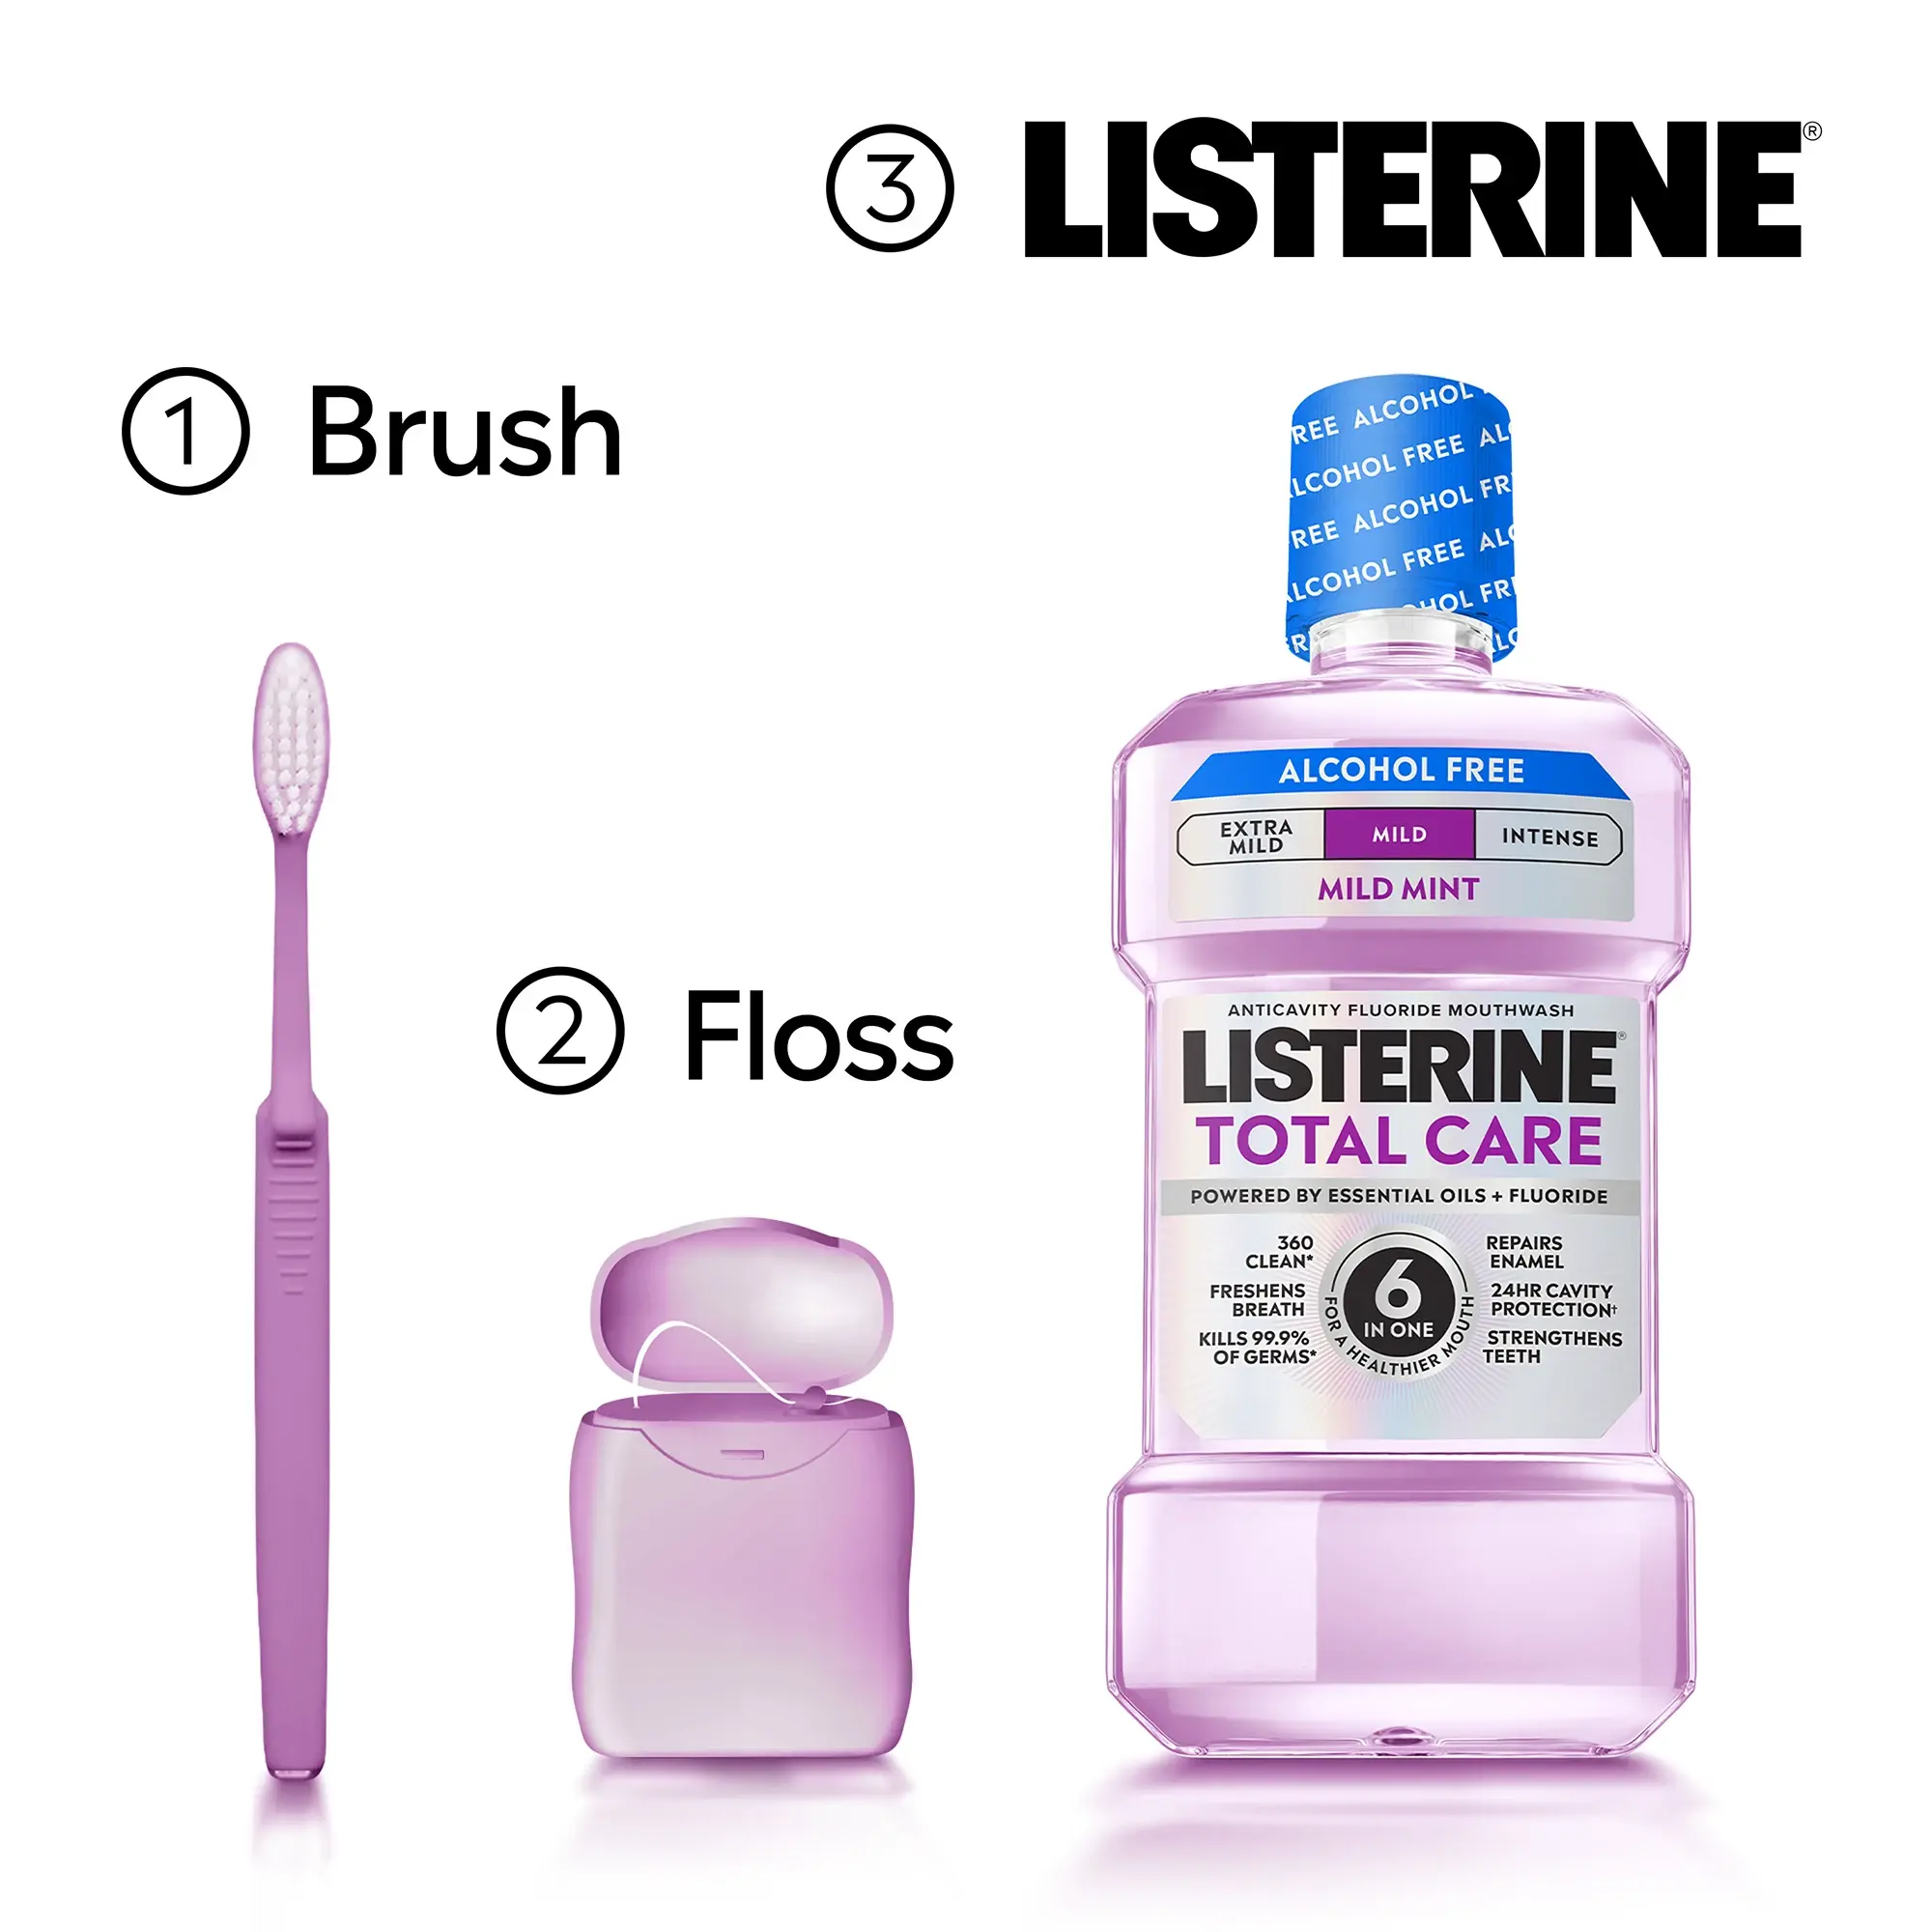
Using Mouthwash After Flossing
Incorporating an antimicrobial, essential-oil-based mouthwash like LISTERINE® Cool Mint Antiseptic into your flossing and brushing routine can help lower plaque above the gumline, bleeding, and early gum disease symptoms even more effectively than brushing and flossing alone.
Clinical studies show that swishing with LISTERINE® after brushing and flossing is more effective for plaque reduction above the gumline than just brushing and flossing alone.
Using mouthwash after brushing and flossing can help you enjoy healthier gums when it’s a part of your daily home hygiene routine.